

Purpose
Tell customers who favorited an eligible product that a favorite time-limited sale has started and that it is about to end. Letting them know about a sale made just for them, and giving a final push before it ends, turns favorites into purchases.How it works
When you turn on 「開始時に通知する」 (Notify at start) or 「終了前に通知する」 (Notify before the end) on a campaign, MultiLikes runs a Shopify Flow trigger at that time.
The trigger runs once for each customer who has favorited a variant in the campaign’s collection. No matter how many variants a customer has favorited, the same notification trigger runs only once per customer for each campaign, so customers don’t get the same message more than once.
Your workflow can use the following values.
Set it up
1
Create a workflow in Shopify Flow
Create a workflow in Shopify Flow and choose MultiLikes’ “Favorite Time-limited Sale Start - [お気に入りタイムセール] 開始通知” as the trigger.
2
Add an action that sends the message
After the trigger, add an action that sends the message.
- Email: the email action of Shopify’s Messaging app
- LINE: the CRM PLUS on LINE action (see CRM PLUS on LINE integration)
- Klaviyo: send an event from Shopify Flow to Klaviyo and send the email from a Klaviyo flow (see Klaviyo integration)
discountLabel to say “Your personal sale, 5% OFF, has started”, and link the button to your store URL followed by salePagePath (for example, https://(your store domain)/pages/favorite-sale) to bring customers to the sale page.3
Turn on the workflow
Check the content, then turn on the workflow. Turn it on before the campaign’s start date and time.
4
Create the ending-soon notification the same way
Create one more workflow with “Favorite Time-limited Sale Ending Soon - [お気に入りタイムセール] 終了前通知” as the trigger. Telling customers how much time is left with
hoursBeforeEnd, such as “24 hours left”, works well.5
Turn on notifications for the campaign
In 「お気に入りタイムセール」 (Favorite time-limited sales) in MultiLikes, turn on 「開始時に通知する」 (Notify at start) and 「終了前に通知する」 (Notify before the end) under 「顧客への通知」 (Customer notifications) for the campaign, then save. Also check that 「通知に載せるタイムセールページのURL」 (Sale page URL for notifications) is the URL of your sale page.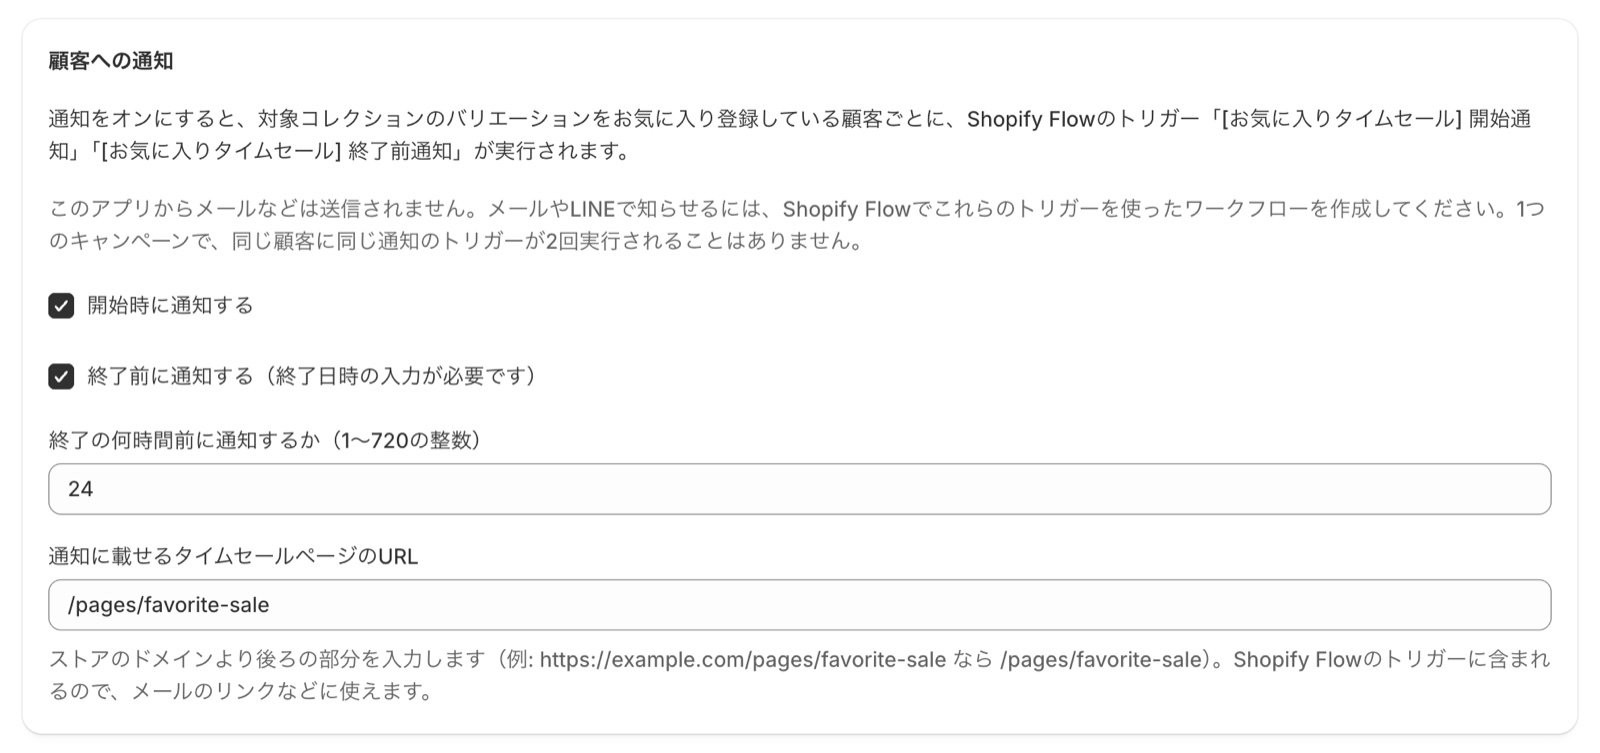
Checking the results
The 「通知」 (Notifications) column on the campaign list shows counts for each notification.
The counts are as of the last tally. To check whether emails were delivered, see the Shopify Flow run history and your email tool.
Things to note
- The start notification is sent when the start date and time arrives. It is not sent for campaigns created after their start date and time, or when 「開始時に通知する」 (Notify at start) is turned on after the start date and time
startsAtandendsAtare in Coordinated Universal Time (UTC). Keep this in mind if you put dates in your emails- Notifications go to customers who favorited products on sale (variants published to the online store that are in stock or set to keep selling when out of stock)