

What article favorites do
Customers can save articles such as stories and styling ideas. They can come back to them later, which leads them from the article back to your product pages. Available on the Pro and Enterprise plans.Place the favorite button on blog posts
1
Open the template in the theme editor
In the app’s Settings, open the Installation guide and press Open theme editor for Add the favorite button to blog posts. The theme editor opens with Article Wishlist Button already added to the template.To add it from the theme editor yourself, press Add section in the template (or Add block in a section), and choose Article Wishlist Button from the Apps tab.
2
Adjust the settings and save
Select the block to see its settings on the right. Adjust the button text and alignment, then press Save.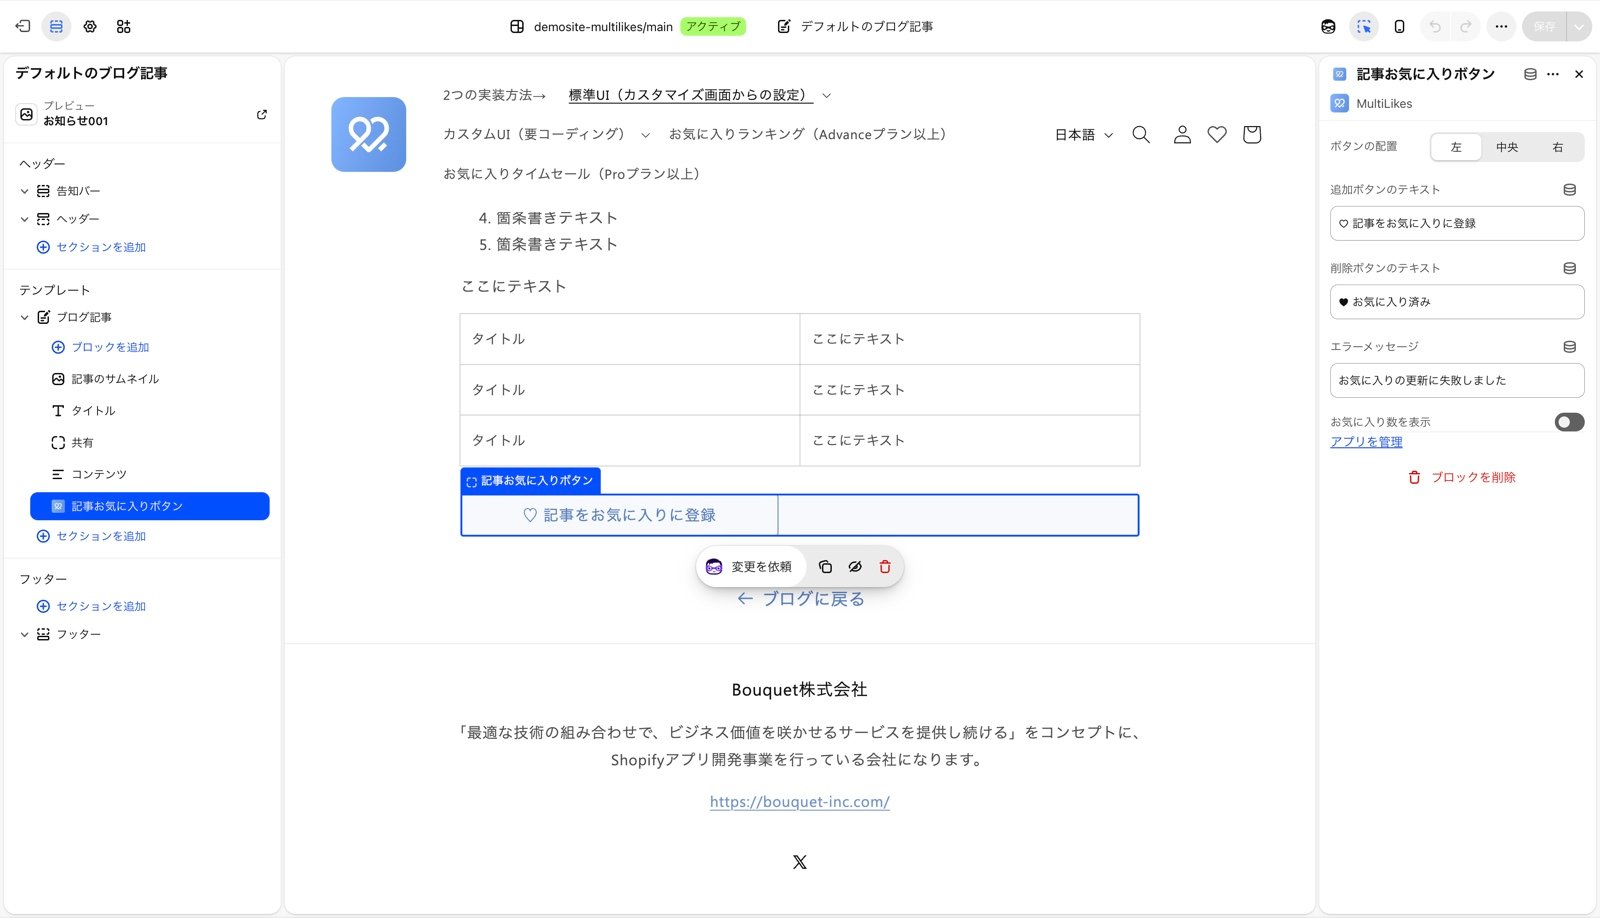
3
Check your store
Open blog posts in your store and check that the favorite button appears. Add the favorite button to blog posts is also marked Added in the app’s Installation guide.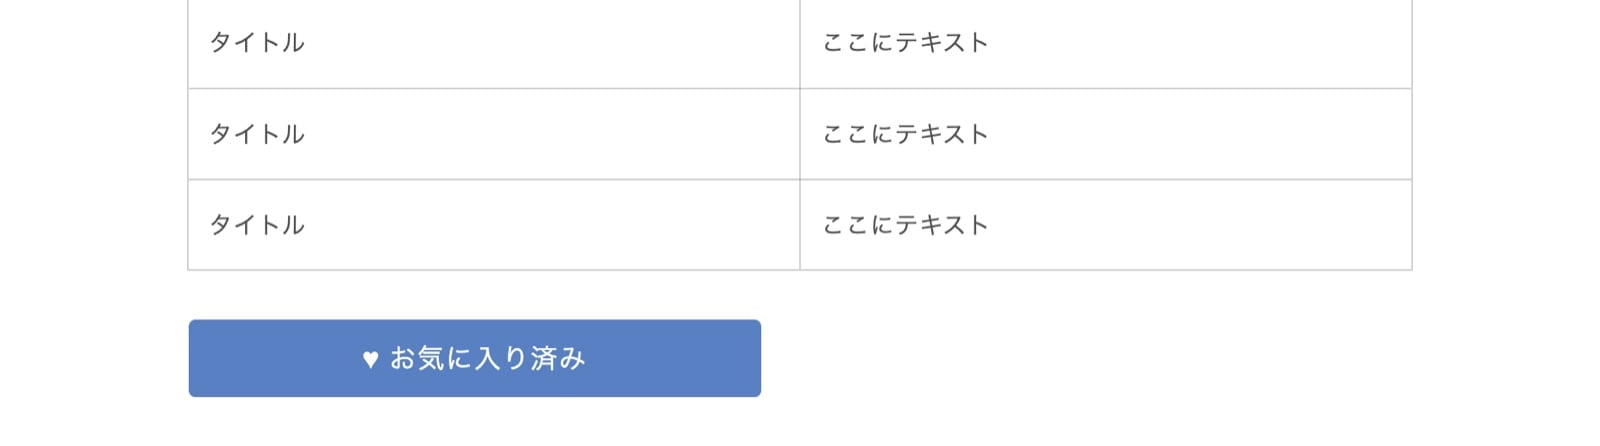
Settings
Optional: Set up Shopify Flow
You can run a Shopify Flow workflow when a customer adds an article to their favorites or removes one. For example, tag customers based on the blog of the article they favorited, and you can send updates only to the customers interested in that topic, or narrow them down with segments. If you don’t plan to use it, no setup is needed.1. In Shopify Flow, create a workflow and choose the trigger “Article Wishlist - [記事お気に入り] お気に入りボタン押下”
2. Build your conditions and actions with the values the trigger passes
3. Turn the workflow on
The trigger runs only when the favorite status changes. Adding an article that is already in the customer’s favorites does not run it.